Make a bank that holds coins, then choose a shape and finish. Explore clear-front pigs, a cloud, painted animals and a dinosaur, with shared Easel files and a two-piece bank design to try.
Design two halves with a slot that opens into the coin space
Start with two 5 × 7 inch panels in 3/4 inch stock. In each panel, pocket a 3 × 5 inch coin space 1/2 inch deep, leaving a 1/4 inch outer face. Cut a centered 1 1/8 inch wide channel from the top edge into that pocket, 1/8 inch deep in each half. Put the pocketed faces together: the entry is 1 1/8 × 1/4 inch and the cavity is 1 inch deep, sized here for coins up to 1 inch across and 1/8 inch thick. Watch both halves take shape in the native editor, then follow the assembly notes below.
Recorded in the Easel editor, playing at 3× real speed.
Creating an Easel account is free. No credit card required.
Four matching corner holes sit in solid wood outside the cavity. Use 3/16 inch clearance holes through the front and 1/8 inch pilot holes 3/8 inch deep in the back. Start with four #8 × 1 inch pan-head wood screws; check the pilot size against your screws and wood on scrap. The preview uses a 3 mm cutter, slightly smaller than the 1/8 inch pilots, so the pilot holes are included in the toolpath preview.
Cut both panels, remove the holding tabs and sand their mating faces, then align the top channels and screw them together without glue. Unscrew the front to empty it.
The recording shows both temporary native designs and their previews, not a saved download or a physically carved bank. Measure your stock and choose a cutter with enough cutting length before carving.
Try a clear face, a painted silhouette or a carved front
Choose a small windowed bank or a larger animal shape. Each shared file covers a different part of the build; the descriptions below explain where to start and what to add.
Stych’s gallery photo shows a blue cloud bank with a white border. The shared Easel project demonstrates the same pocket-and-clear-face approach in a hen shape: its three workpieces supply the body design, acrylic oval and 1/4 inch back outline. Use those hen parts as your starting point, or draw your own cloud outline; the pictured cloud silhouette is not supplied. The project instructions link the Easel Live lesson.
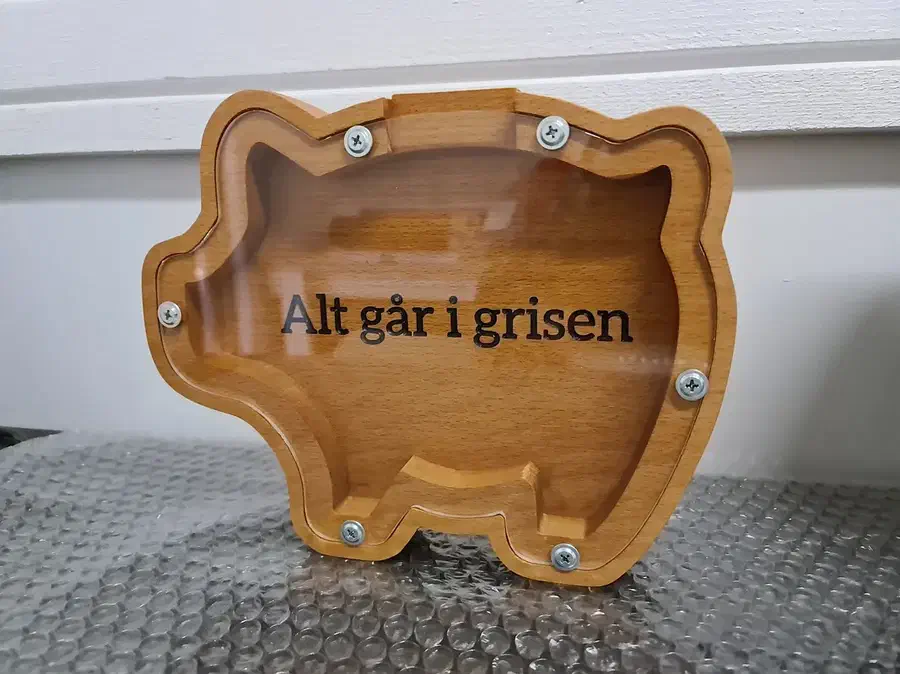
A pig-shaped bank keeps the growing pile of coins visible through its clear face. The maker lists acrylic, maple and pine. Six native workpieces contain the supplied parts and layouts; use them as a starting point for your chosen stock and window material.
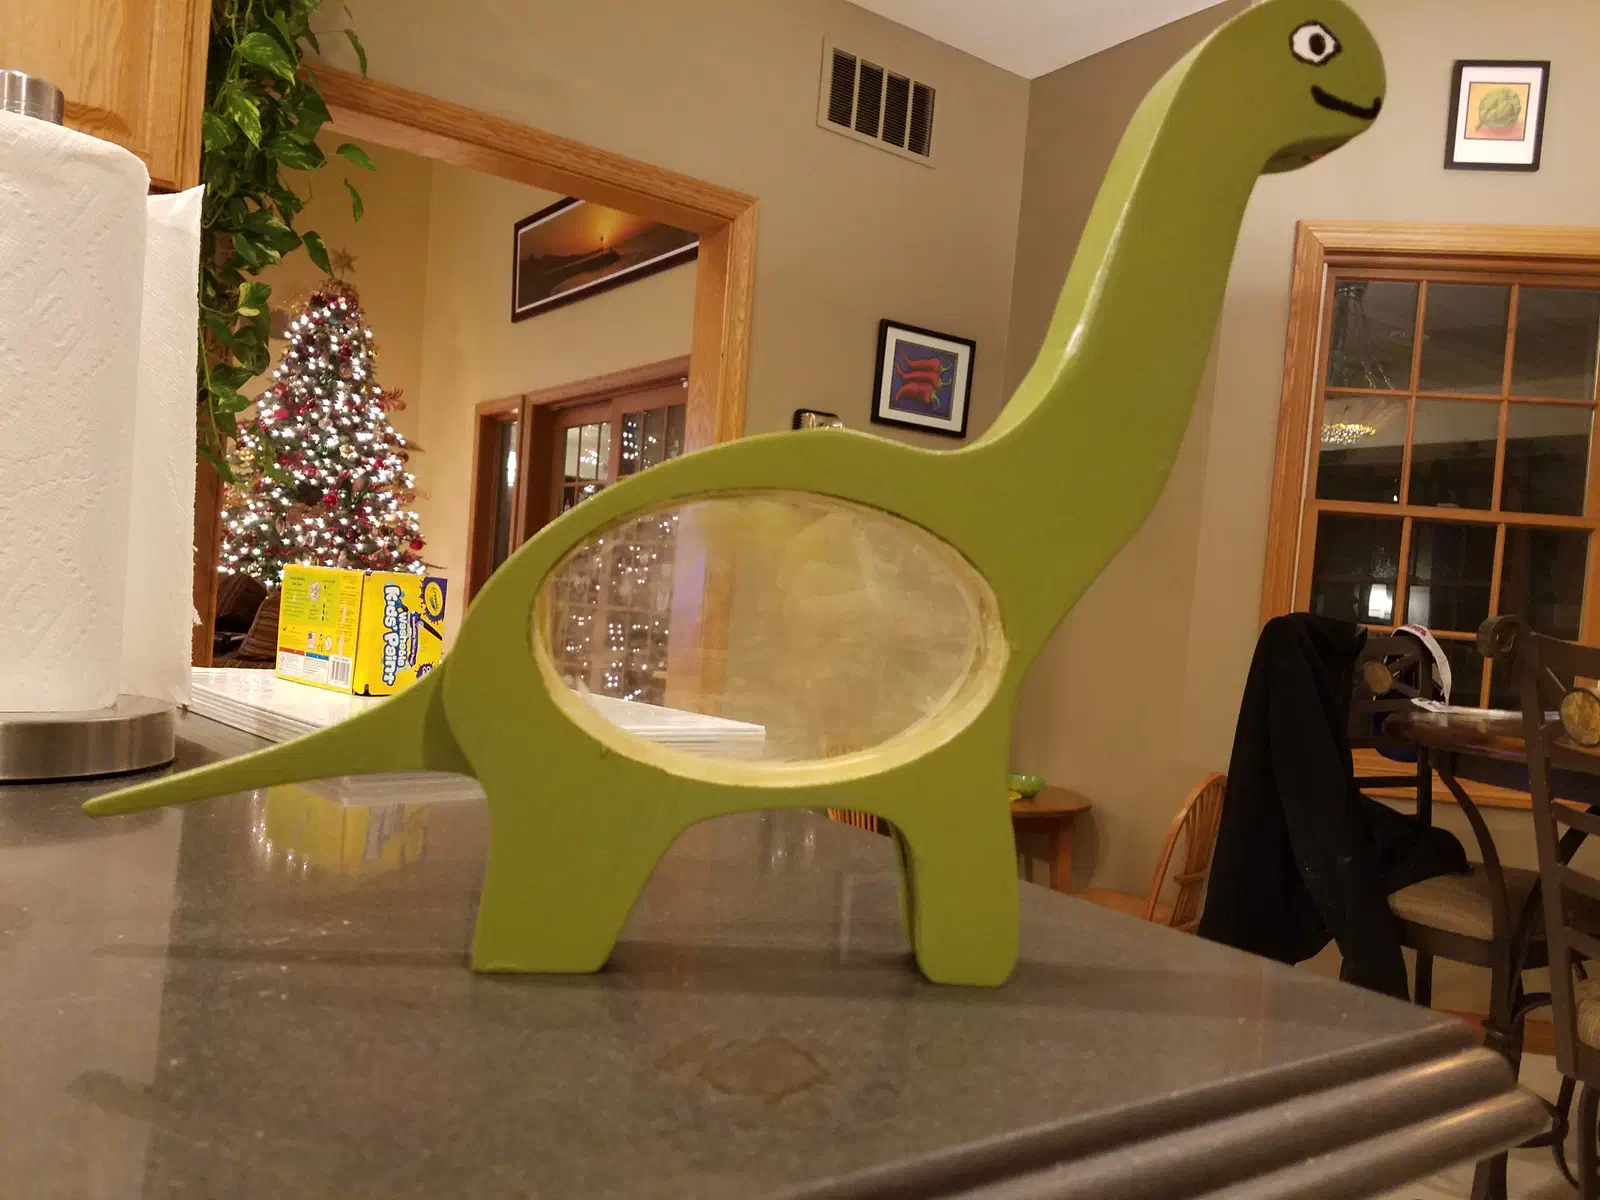
A long-necked dinosaur stands on its own feet with a clear oval belly. Mikeworth says he cut 1/2 inch plywood together, then glued, painted and sealed it. The single shared workpiece supplies body-and-leg profiles and oval pieces, not the pictured neck, head or tail. Start with the body parts and draw those extensions and the coin entry for your version.
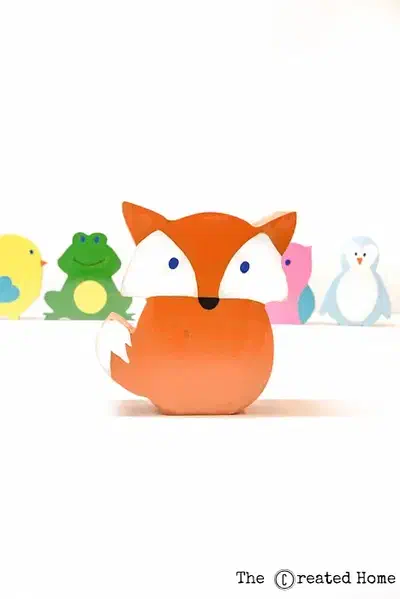
Milne turns animal silhouettes into painted MDF coin banks. Her instructions link two separate Easel files for the animal parts. Open both from the project instructions and follow the assembly tutorial; the first preview alone is not the full set.
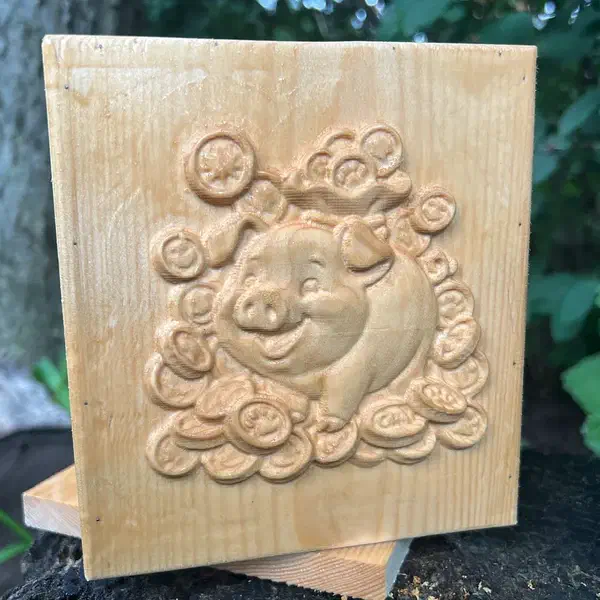
Add a carved pig-and-coins scene to a small cedar box. Marcisz made the test front in cedar, then kept that wood for the finished box. The shared file supplies the relief front, not the box sides or coin slot. Build those separately for the size you choose. Carving this 3D relief in Easel requires Easel Pro.
Creating an Easel account is free. No credit card required.
From maker notes and discussions
Build with layers and allow time for relief carving
Read the discussions without an account. Log in to post a question; replies are not guaranteed.
Use a separate back instead of hollowing thick stock
Batton describes changing his letter bank to accept a glued-on back rather than hollowing out all the wood. A layered bank can use a thin back and thicker pieces around the coin space. His E bank uses a thin luan back, pine layers and an acrylic front. Choose the layer thicknesses together so the coins have room to collect.
Check the finishing-pass time before enlarging a relief
Marcisz warns that a larger 3D carve can take a long finishing pass, and calls out bit step-over as part of that decision. Before scaling up a decorative bank front, compare the estimated carve time with the detail you want. A larger carving is not simply a larger box.
 Cloud coin bankby Mo Stych