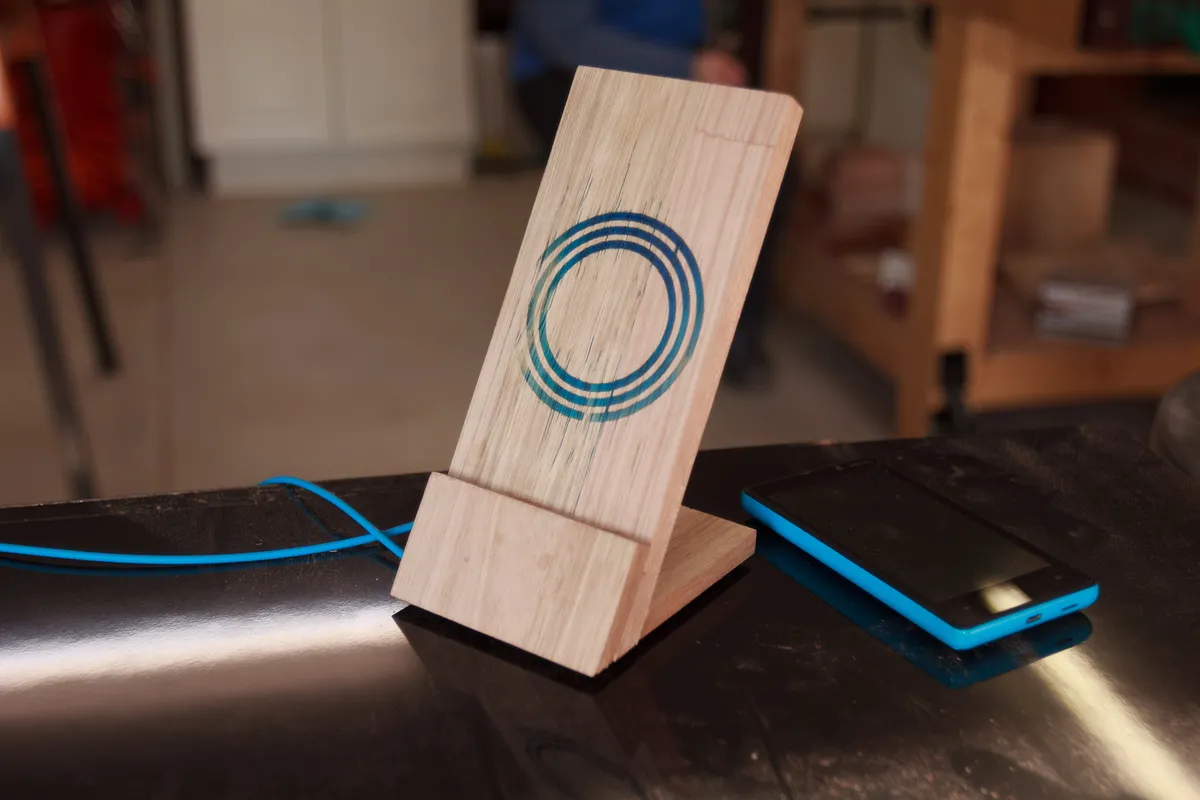
Phone stand/charger

Instructions
1
Intro
Materials
- 13mm tassie oak
- QI charger (I used a Nokia charger)
- Wood glue
- CA glue
- 6mm dowel
- double sided tape
- secondary MDF waste board (~6mm/1/4" is fine)
Tools * XCarve * Tablesaw
Estimated time: 5 minutes
2
Drill holes
- Attach your wood to the wasteboard with double sided tape and load it into the machine
- Open up the project in Easel, delete everything except the four holes for the dowels.
- Drill out the dowel holes
3
Cut out QI charger pocket
- Without moving the machine, drive in the dowels through the wood and into the MDF
- Load the project again, delete the concentric circles and drill holes
- Cut out the wood and charger cavity
Estimated time: 45 minutes
4
Cut out decoration on the front
- Flip the wood, drive the dowels back into drilled holes
- Reload the project in Easel, delete everything except the concentric rings
- Carve away
Estimated time: 5 minutes
5
Make the rest of the stand
- Using the table saw, cut a 30° bevel on the bottom of the charger,
- Cut out another peice of wood with the same bevel on one end, about ~50mm (~2") long, the same width as the stand. This is the shelf
- Cut out another piece of wood with the same bevel on one end about ~100mm (~4"), the same width as the stand. This is the base. Cut a groove in the centre of the base wide and deep enough for the cable to run through
- Glue the shelf onto the front of the phone charger so the phone has something to lean against
- Use CA or epoxy to glue the charger to the base - end grain won't have a lot of strength if you use wood glue, but it can be done. CA is a little bit easier as tape is enough clamping pressure.
Comments